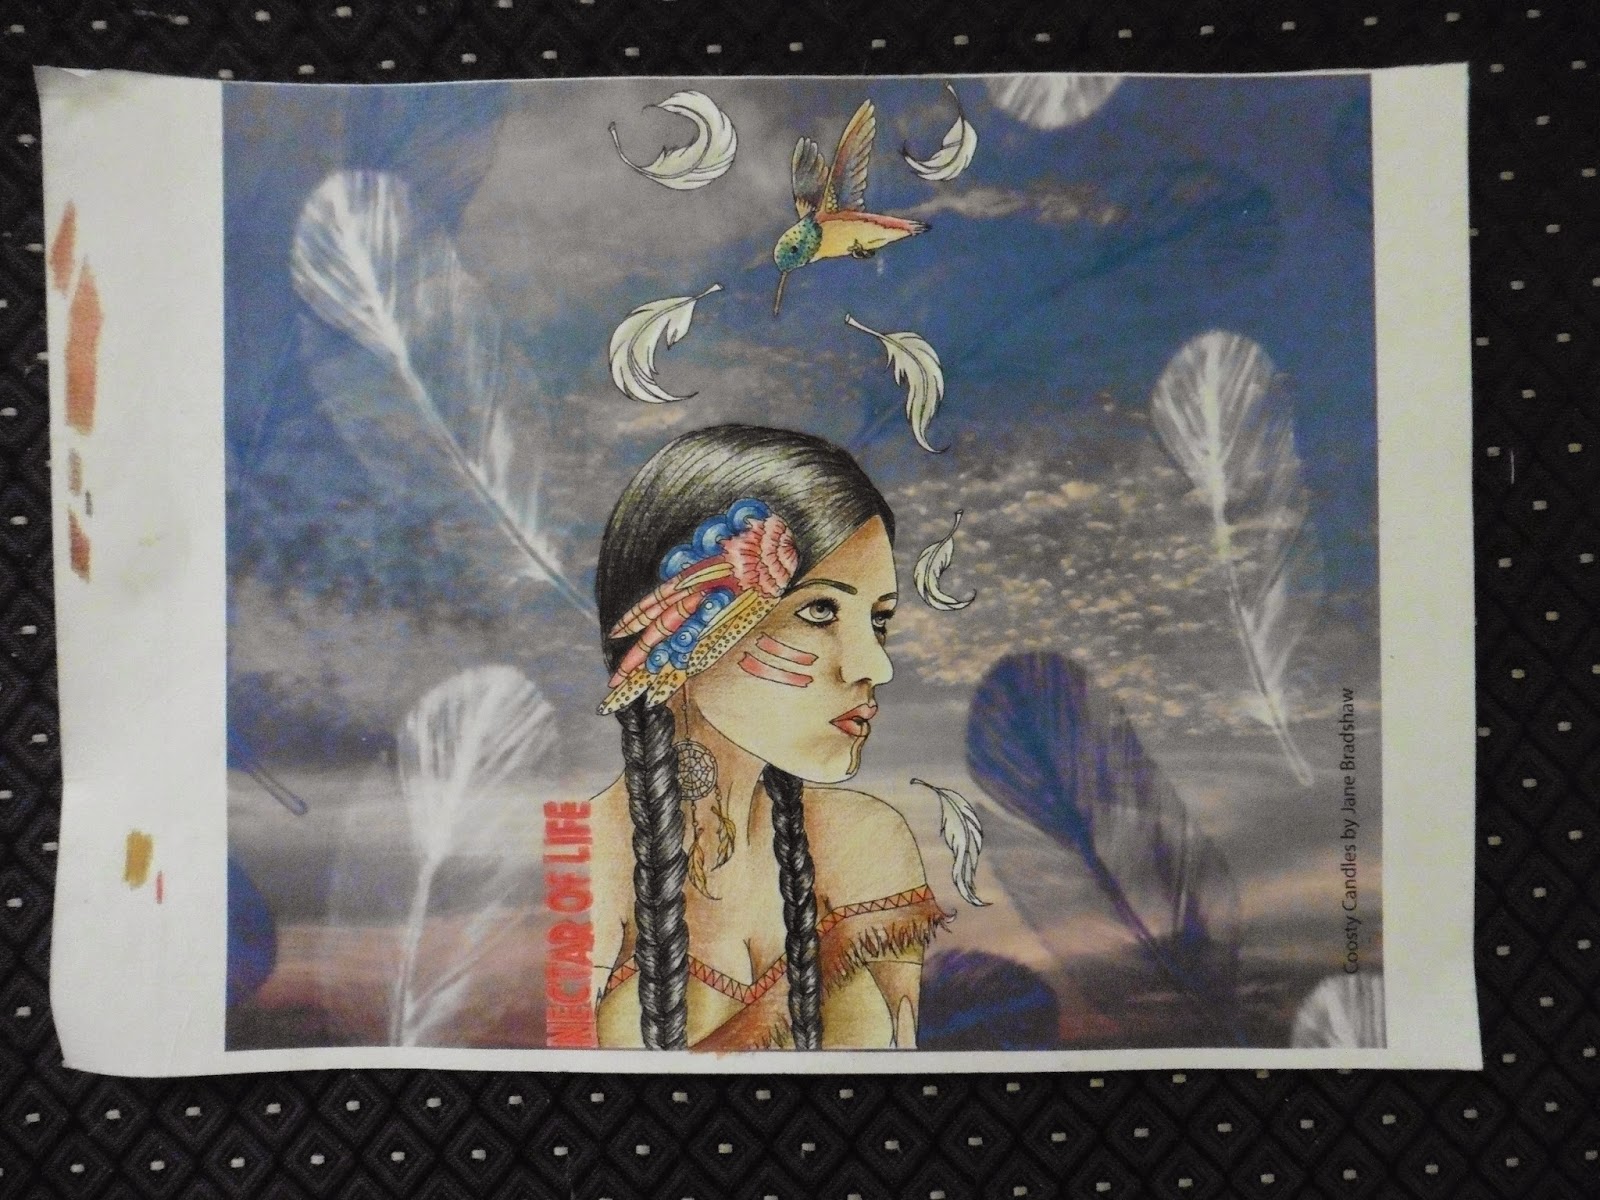
Today is my day to showcase and image from Sweet Pea Stamps and I have chosen to work with the beautiful image
Art Nouveau Two by Karen Middleton which is available from the
Sweet Pea Store in both rubber and digi.
This week is Artist week and the whole DT will be creating with the wonderful images by Karen Middleton - a exceptional artist who has images to suit every taste, from the cute we animals to the stunning figure drawings.
I think this is the only time I have bought a die to use with a specific image and would you believe it has taken me almost a year to get round to using it hahahahaha - life does have a funny way of getting to busy at times :)
I started by colouring the image with Faber Castell Polychromos colour pencils and a silver pen.
Next I cut my lovely Sizzix - 657556 die using silver card. This was mounted on black card and I filled in the spaces with Glossy Accents hopefully to give a glass effect when dry.
For the spray on the right hand side I made some gem stems using red beads, black pearls and silver beads.
The bead stems were grouped with silver lilies, red and black feathers and the fabulous metal heart, so perfect for this card theme I think.
I covered the inside of the card with red card which I embossed then cut the die again in silver and mounted it on black. The die was cut again using white card so I could include a white writing area.
The main card was embossed with the same Embossilicous folder I used for the inside and on the right hand side I added a broad velvet die cut lace I have (the image has been over exposed here so you can see it). On the actual card this velvet lace is more for a tactile theme than to be visible, sort of like an extra surprise :) :) :)
The die mount was turned 180 degrees from that of the inside die just to give a bit of difference. And there we have it, all done.
Ingredients:-
- Image - Art Nouveau Two by Karen Middleton
- Colouring Medium - Faber Castell Polychromos colour pencils
- Dies - Sizzix - 657556
- From my Stash - Feathers, black pearls, beads, flowers, silver and gold pen, velvet lace trim and metal heart
I am entering into the following challenges:-
- A Gem of a Challenge 2W (W1)flowers
- Open-Minded Challenges 2W,3E (W1) inspired by a song (LADY IN RED)
- Alphabet Challenge - 2W, 1E, JFF - (W2 of 2) - G for Glitz & Glamour
- Artbymiran Challenge - 2W , SIO, 3E, no digital projects - No.32 - (W2 of 2) - Anything Goes
- Graph'It Colour Challenge - W (any medium)- No.21 - Pearls & Bling or Cream & White
- Sister Act Card Challenge - W, Cards - No. 107 - Always Anything Goes (Cards only)
- As You Like it Challenge - 2W, E3- (W1 of 2) Favourite Period (& Why) (ART DECO - we don't see much of it around in the card world but I love the elegance of the figures and simple, clean lines of patterns/shapes)
- Red Rubber Inspirationals - W, E3, must have stamping: #221 Shape Up- see blog (HEXAGON for image)
- Little Red Wagon - W - #290 To Dir For
- Addicted to Stamps and More - W - C10 - #145 Photo Inspiration (the colours and geometric shapes formed by the sofas)
Thank you for stopping by today and hope you have a happy crafting time ahead of you :) xx